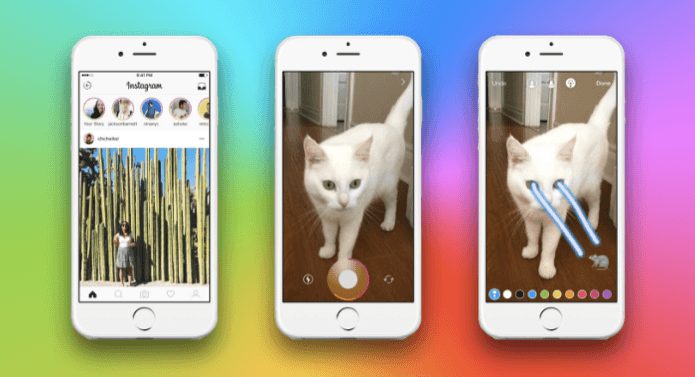
The app is pretty much like Instagram when it comes to style and navigation. You can either select photos from your phone gallery or snap one instantly to get started. But there are a few tips that you can keep in mind to get the most out of the app.
1. Don’t Use Prisma’s Built-in Camera
Prisma’s built-in camera lacks HDR, night mode, white balance correction and manual mode. All you can do with the Prisma’s camera is turn the flash on or off. So if you really want to create a work of art, you need solid base photos to start with and the only way you can do it is by taking photos through the default camera app which has plenty of features to use. So use the HDR mode, apply some filters and take a good photo to start with. You can also use third party apps like Camera360 to apply filters to photos. If your camera has the option to take square photos, don’t forget to enable that. As Prisma only accepts square photos, you will get an idea of the frame you’ll get after processing.
2. Maximum Intensity Does Not Always Mean the Best
After a filter is applied on Prisma, it’s applied with 100% intensity, but it’s not always necessary that the maximum intensity is going to be the best. You can swipe left or right on the photos to increase or decrease the intensity of the filters and sometimes, just a little bit of these effects are enough to make the photos look good.
3. Remove the Watermark
By default, the app applies a watermark in the bottom right corner of the artworks it creates, which is good for the app developers to gain name when you share the photos on Facebook. However, the watermark is too big in my opinion, and if you are planning to take a printout of the photos, it will not look good. While you are on the screen to select photos in Prisma app, tap on the settings wrench icon and here you will find the option to remove the watermark. The option is not monetized and you won’t be charged a penny to make the changes.
4. Auto-save All Your Creations
At times, you want to save and share a photo in more than one filter and saving all the creations automatically will come to rescue in such scenarios. The option is located under settings and will automatically save all the effects you apply in Prisma to a photo. The photos will be saved to the Prisma folder on the phone as soon as a filter is applied successfully and you can tap on more than one filter simultaneously. All the filters will be applied in the background and saved to the phone’s internal storage. This also helps me decide easily as to which filter looks good on a photo by just swiping easily through the processed photos.
5. Spice Up Selfies with MSQRD and Other Such Apps
Needless to say, most of the users will use the Prisma app to post selfies. While the normal pout face might never go out of fashion, you can add some especial effects to these selfies by using 3rd party selfie apps like MSQRD to spice things up. You can also use apps like Layout to create Prisma photos with different frames and make your photos stand out from the rest. There are a lot of apps available on the Play Store suited for the task and a simple search will lead you to a plethora of apps.
Conclusion
So those were some tips to get the most out of your photos while using Prisma on Android. It’s just been a few hours since I have started playing with the app and I apply filters on a trial-and-error basis. However, till now I have concluded that almost all the photos look good in Curtain, MIOBI, and Colored Sky. What do you think… which is the best filter according to you in Prisma? ALSO SEE: 2 Instagram Android Apps that Have Much Better Design than the Official (Updated) App The above article may contain affiliate links which help support Guiding Tech. However, it does not affect our editorial integrity. The content remains unbiased and authentic.


