Though the Remote Play feature seems useful, it can be a bit finicky to set up and may stop working for unknown reasons. We’ve created a list of possible solutions to fix if Steam Remote Play isn’t working on your Windows 11 PC.
1. Check if Remote Play is Enabled in Steam
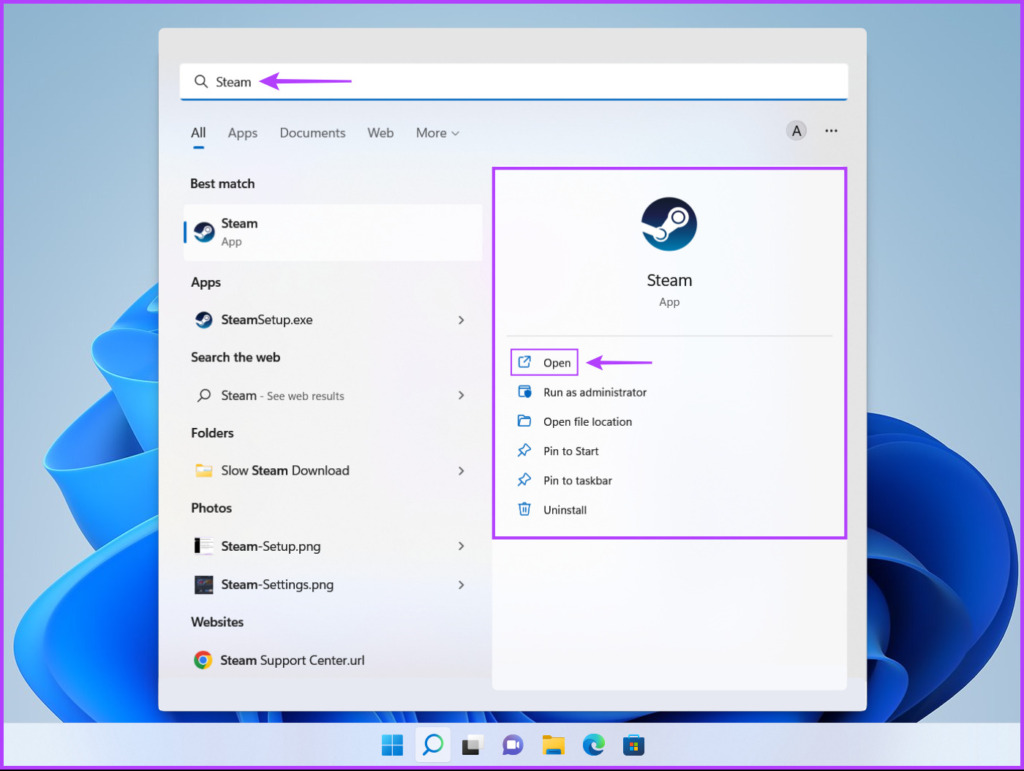
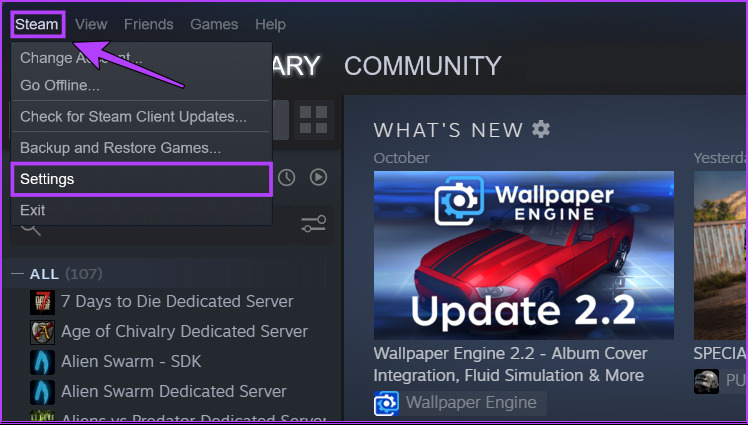
To pair your smartphone or other devices with Steam using the Remote Play feature, you’ll need to enable the Remote Play toggle in Steam. Here’s how you can quickly enable the same on your PC. Step 1: Press the Windows + S keys and type Steam. From the result for Steam, click on Open. Step 2: Click on the Steam option located in the top-left corner. From the context menu that appears, click on Settings. Step 3: In the Setting dialog, click on the Remote Play option. Step 4: Click on the checkbox that says Enable Remote Play. Then, click on OK to save the changes. With the Remote Play toggle enabled, you can pair your phone with Steam via the Steam Link app and play games on the go. However, If Steam Remote Play refuses to work, move on to the next solution.
2. Try Unpairing and Repairing Your Device
If you’ve your phone or tablet is connected to Steam, but it still doesn’t work, try unpairing and reconnecting to see if that helps. Here’s how you can do that on your PC: Step 1: Press the Windows + S keys and type Steam. Then from the result for Steam, click on Open. Step 2: Click on the Steam option located in the top-left corner. Then from the menu that appears, click on Settings. Step 3: In the Setting dialog, click on the Remote Play on the left sidebar. Step 4: Select your previously paired device and click on Unpair Devices button. Then, click OK when an Unpair devices prompt appears on your screen. Step 4: Now, click on the option that says Pair Steam Link and reconnect your phone to the Steam client using the Steam Link app as you did previously. If Steam Remote Play is still not working after unpairing and repairing your phone or tablet, you may move on to more advanced solutions.
3. Allow Steam Through the Windows Defender Firewall
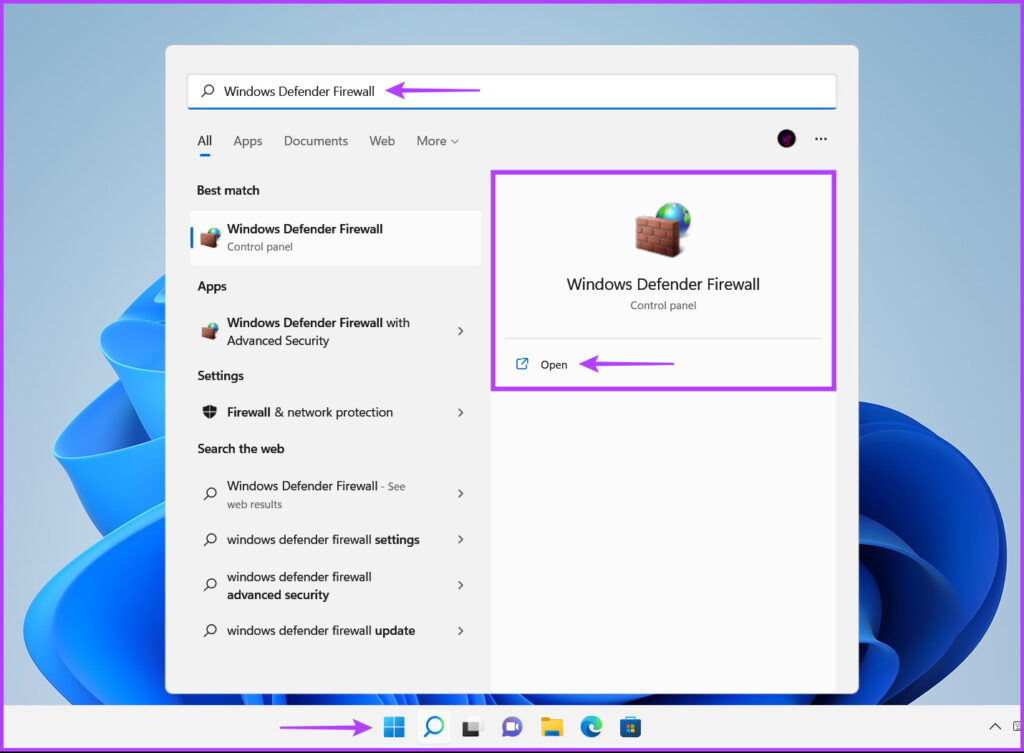
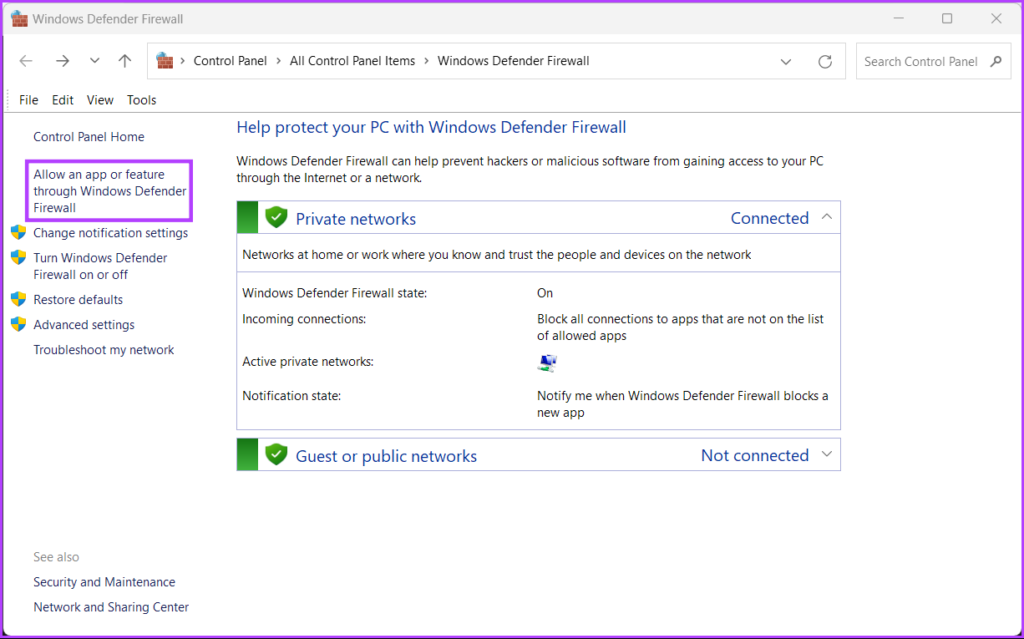
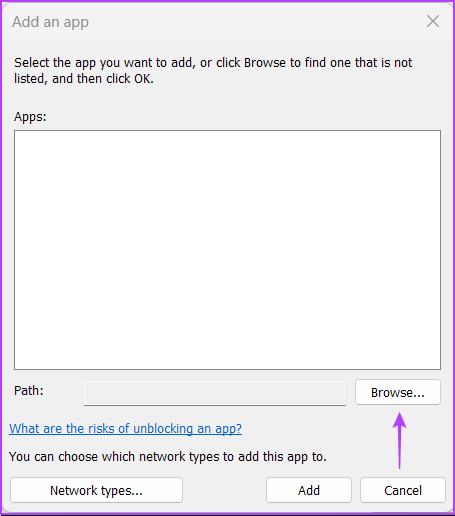
Windows Defender Firewall is a security feature built into Windows that permits or denies programs on your computer from making outgoing or incoming connections. The Windows Defender Firewall can sometimes restrict Steam Remote Play from initiating contact with your smartphone or tablet. You can quickly check and fix this issue by manually allowing Steam through the Windows Defender Firewall, as detailed in the steps below: Note: You’ll need administrative privileges on your computer to perform the following steps. Step 1: Click the Start button on the Taskbar and type Windows Defender Firewall. Then, click on Open next to the Windows Defender Firewall search result. Step 2: In the Windows Defender Firewall window, click on the ‘Allow an app or feature through Windows Defender Firewall’ in the left column. Step 3: Click on the Change Settings button. When a User Account Control prompt appears, select Yes. From the ‘Allowed apps and features’ list look for Steam. If you can’t find it click on the ‘Allow another app’ button at the bottom. Step 4: When the Add an app window opens, click the Browse button. Step 5: Copy and paste the following path into the Address bar of the Browse (File Explorer) window: When you reach the designated folder, select Steam.exe and click on Open. Step 6: After Steam appears under Apps, click on the Add button. Step 7: A new ‘Steam’ entry will appear in the Allowed apps and features list. Ensure that the checkboxes for Private and Public options located next to it are checked. Then, click on OK to save the changes.
4. Disable IPv6 Protocol on Your PC
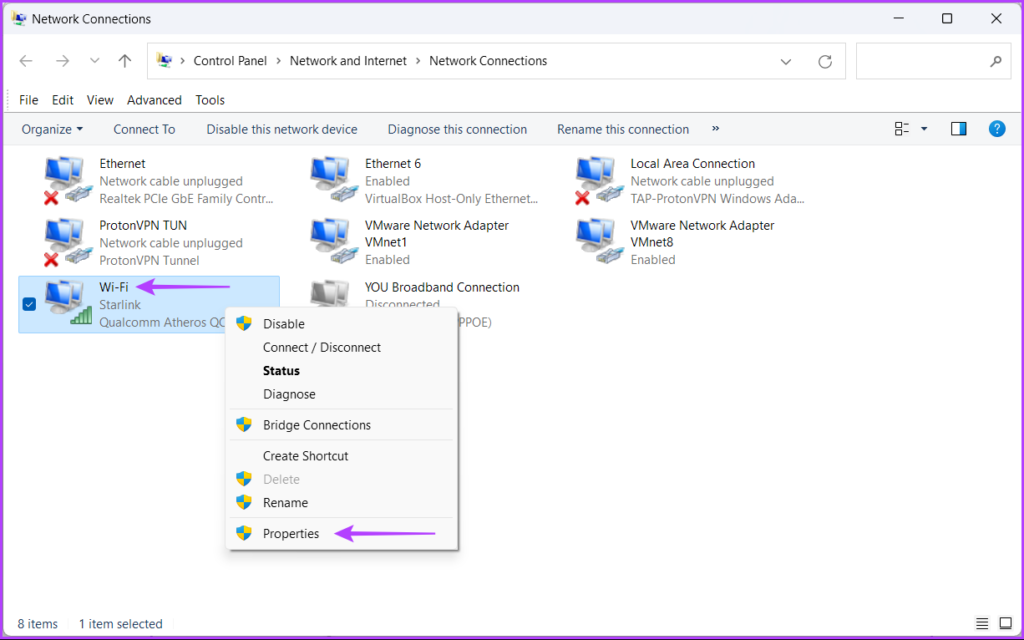
Enabling IPv6 at the moment can cause compatibility issues. Almost all computers and programs still rely on the good old IPv4 protocol to connect with the internet. Hence, if you have IPv6 enabled on your PC, it’s recommended that you disable it to prevent issues that may prevent Steam Remote Play from working correctly. Step 1: Click the Start button on the Taskbar and type View Network Connections in Windows Search. Then, click on Open. Step 2: When a Control Panel window opens, right-click on Ethernet or Wi-Fi (depending on the one you use) and select Properties. Step 3: Click and uncheck the box that says Internet Protocol Version 6 (TCP/IPv6) to disable IPv6 on your PC. Then, click on OK to save the changes.
5. Force IP Address Change
Besides turning off IPv6, manually refreshing/changing the IP addresses used by the network adapters on your computer can also help you fix Steam Remote Play when it doesn’t work as expected. To do this on your computer, you will need to run a couple of commands using Command Prompt, followed by the Steam Console, as detailed in the steps below.
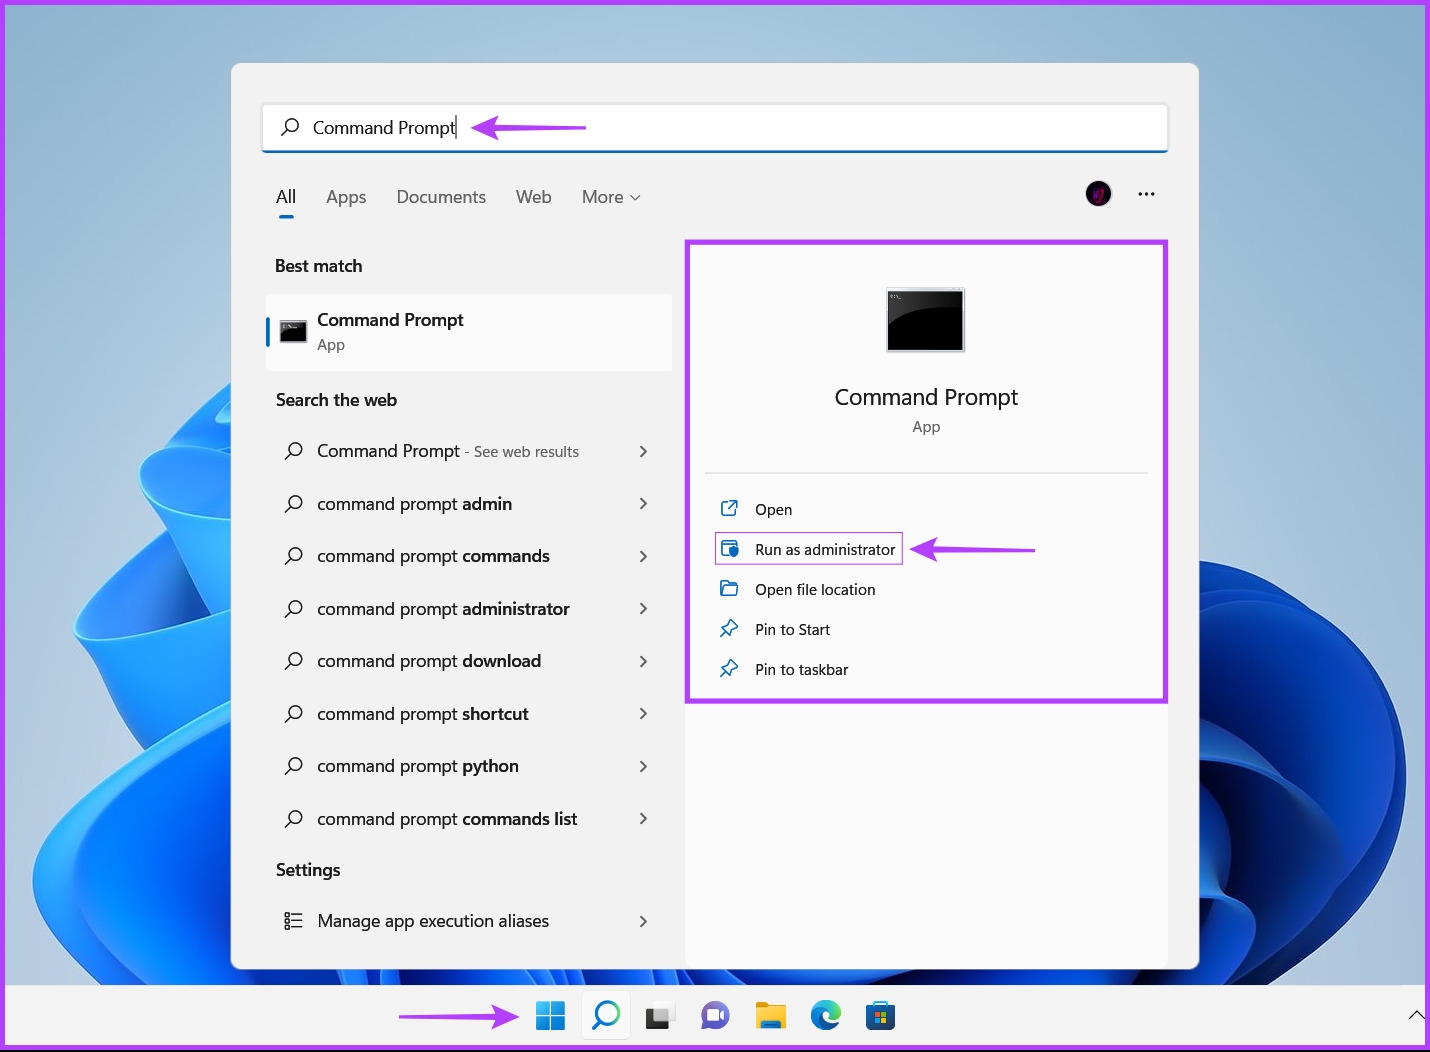
Step 1: Press the Windows + S keys and type Command Prompt. Then, from the results for Command Prompt, click on Run as administrator.
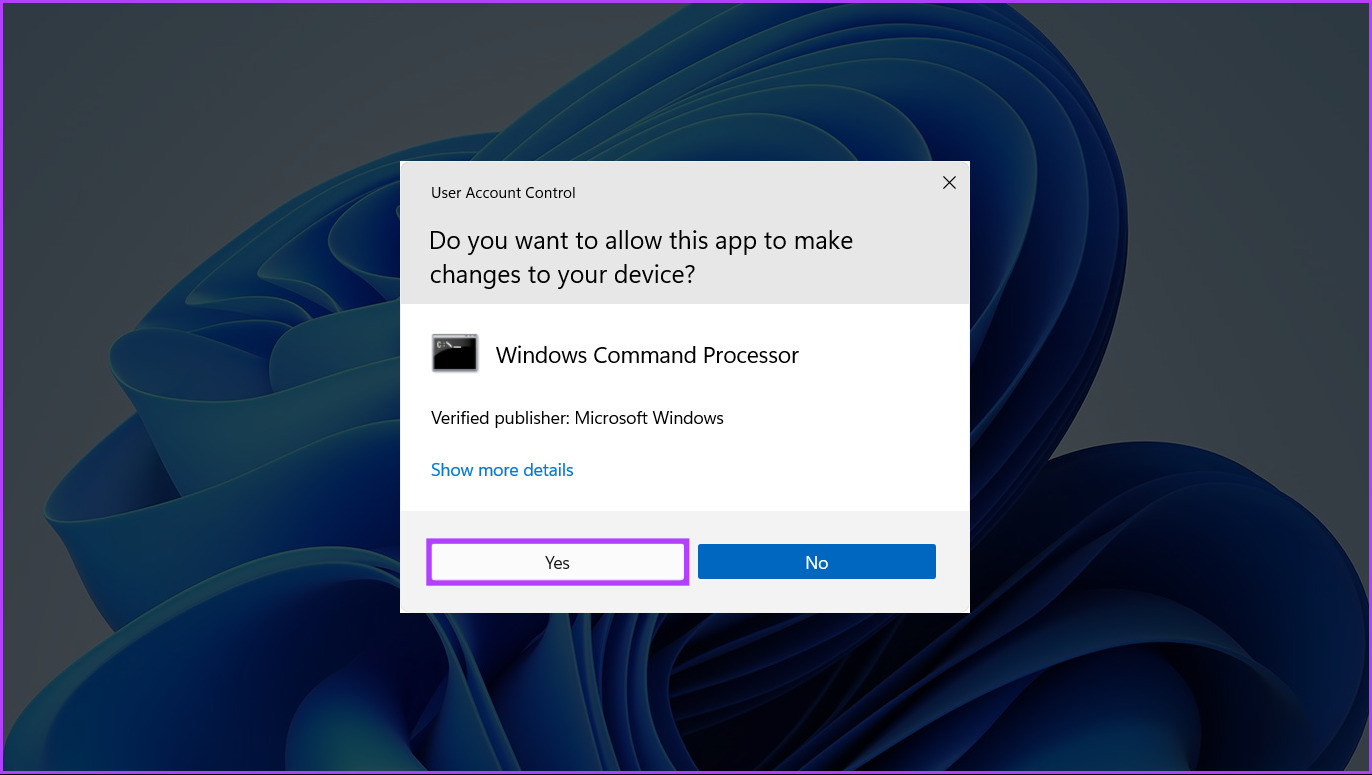
Step 2: Click on Yes when a User Account Control (UAC) prompt appears on the screen.
Step 3: Type the following commands into the Command Prompt window one command at a time and press Enter to refresh your PC’s IP address.
The first command instructs your PC to discard the current IP address configuration from all network adapters. Meanwhile, the second command requests a new IP address from your router that can be assigned to the network adapters on your computer.
Step 4: Leave the Command Prompt windows open. Then, press the Windows + R keys together to access the Run dialog.
Step 5: In the Run dialog type the following command and press Enter on your keyboard.
Step 6: Copy and paste the following command into the text field of the Steam Console window and press Enter to refresh the IP address used by Steam.
To use this command you will need to replace the
6. Reinstall Steam
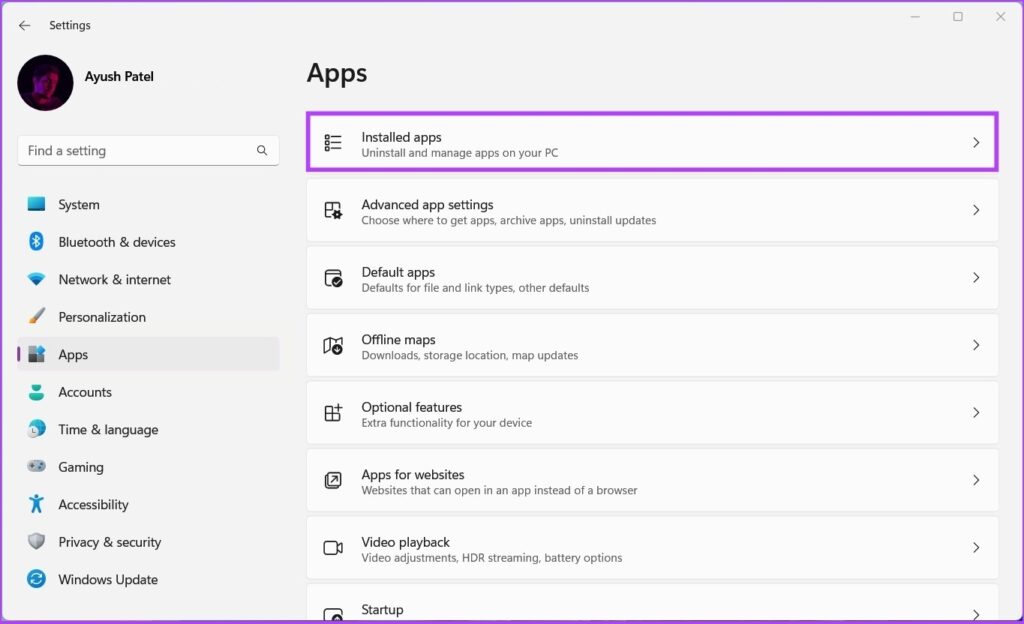
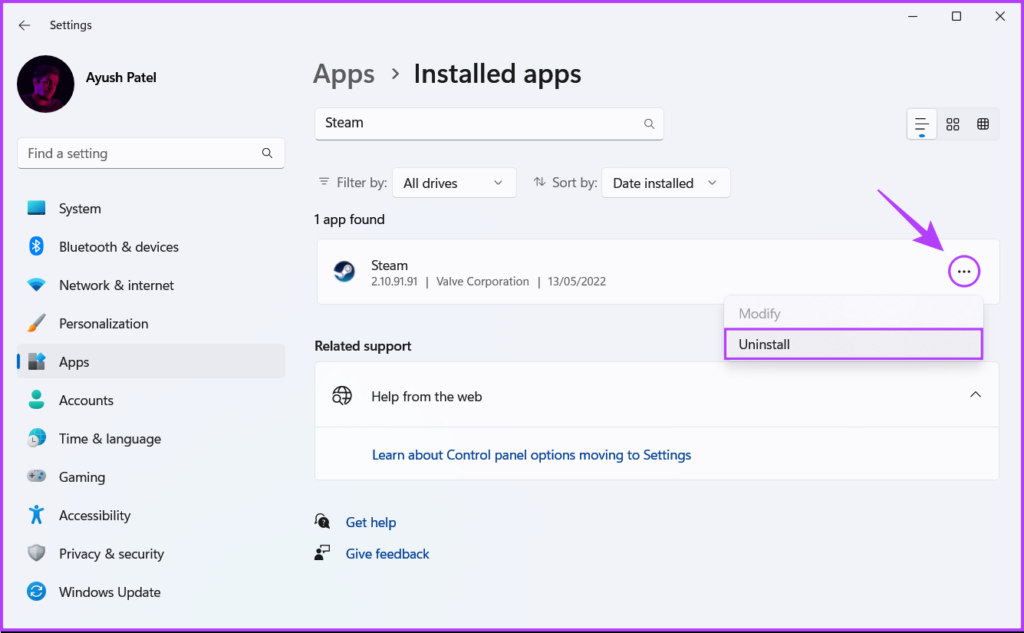
If none of the previous solutions work, you can remove Steam from your PC and reinstalling it. Here’s how you can do the same on your PC: Do note that uninstalling Steam from your PC will also remove all your games, their downloadable content (DLCs) and save files. You may want to create a backup of Steam game files before you proceed any further. Step 1: Press the Windows + I keys to open the Settings app. Step 2: When the Settings app opens, click on the Apps option in the left sidebar. Step 3: On the Apps page, click on the option that says Installed apps from the right pane. Step 4: Type Steam in the search box at the top. Step 5: From the search results, click the horizontal three dots menu next to the Steam result. Then, select Uninstall. Step 6: After removing Steam, click the download button below to download the Steam installer on your PC. Download Steam for Windows Step 7: When the download completes, click on the SteamSetup.exe file and follow the on-screen instructions to install Steam on your PC. If you need more help with installing and setting up Steam on your PC, check our guide on downloading and using Steam on Windows 11.
Fix Steam Remote Play on Windows 11
By following the steps above, you can quickly diagnose and fix any technical issues preventing Steam Remote Play from working on your Windows 11 PC. This way, you’ll never miss a game session with your friends even when you’re away from your PC, as long as it’s powered on and connected to the internet. The above article may contain affiliate links which help support Guiding Tech. However, it does not affect our editorial integrity. The content remains unbiased and authentic.