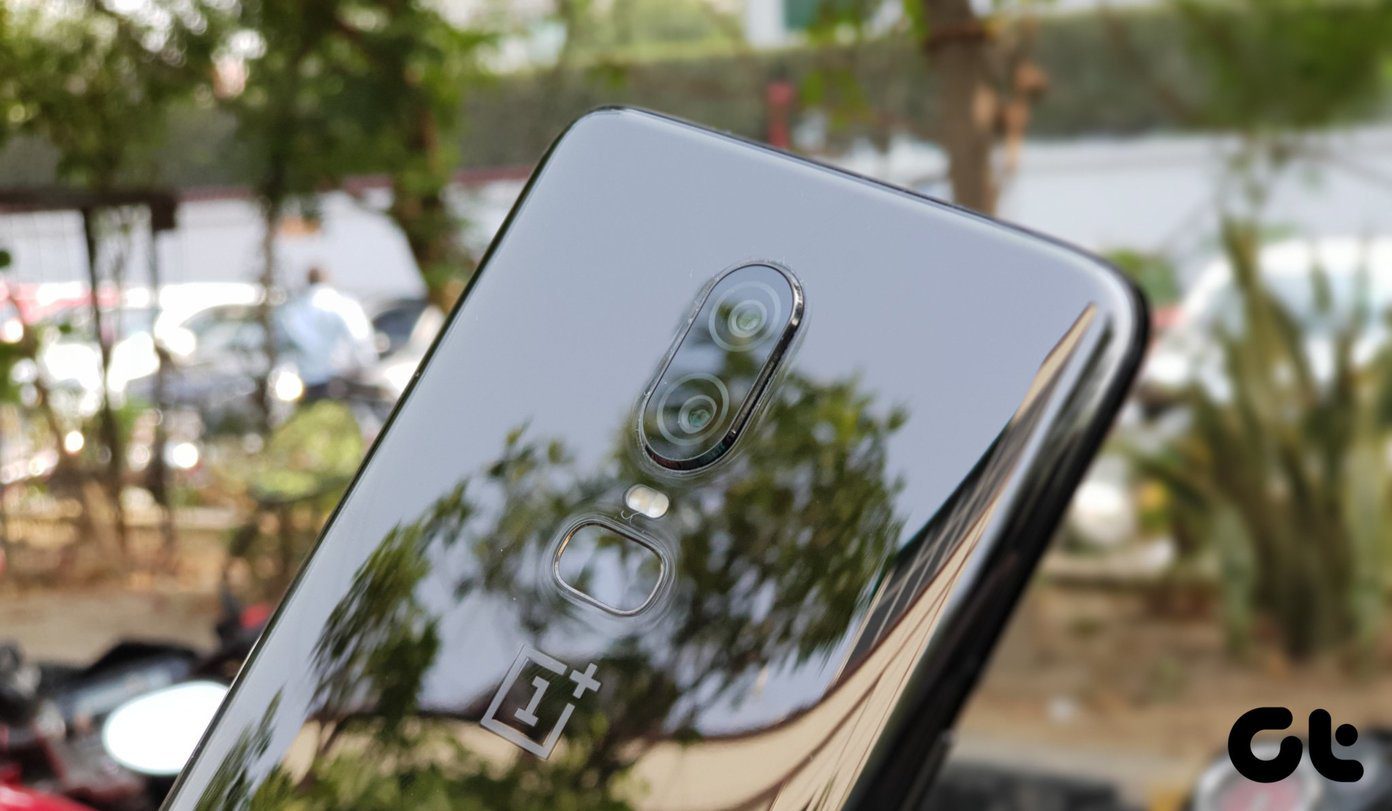
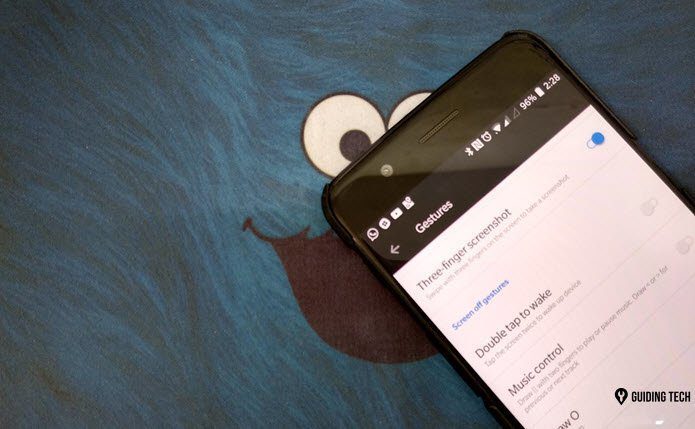
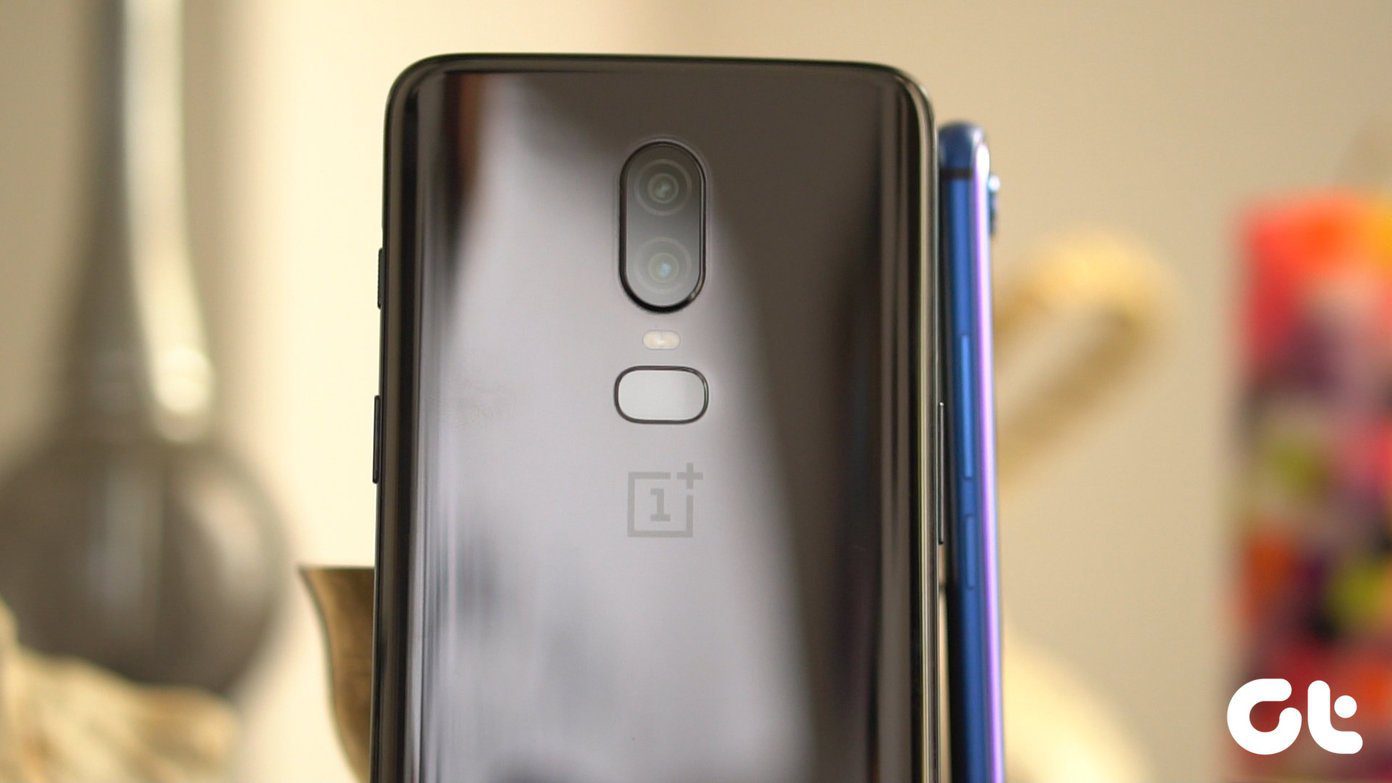
Since its launch, we have tinkered around the OnePlus 7 Pro camera a little and have managed to note down quite a few nifty camera settings. And if you too want to do the same, follow these camera tips and tricks to make the most out of the OnePlus 7.
1. Customize the Camera Interface
Firstly, let’s start with the camera interface. Given that it’s one of the most frequently used apps (well, for most of us), it’s highly imperative that you align the shooting modes the way you want. That means that if you want to kick out the Pro mode and have the Slow-motion mode on its place, you can do it now. At the same time, you can also have your favorite modes next to each other. To customize the shooting mode, pull up the preferred-mode screen, and tap on Settings. Now, tap on Customized modes and do your modifications.
2. Unlock the 48 MP Shooter
By default, the 48-megapixel sensor of the OnePlus 7 Pro outputs 12-megapixel images. Though these images are pretty good, you may also want to capture the highly-detailed 48-megapixel photos. This mode comes handy if you wish to print the pictures. However, you won’t find a dedicated shooting mode for 48-megapixel, nor will you find a dedicated option for it in the Settings menu. This option, is in fact, hidden inside the Pro mode. All you have to do is open it, and tap on the little JPEG icon at the top. Select the JPEG 48 icon and shoot away.
3. Correct Fisheye Distortions
While ultrawide cameras let you capture super wide photos, it comes with a major flaw. Unless you are too careful, most of your photos end up with slight fisheye distortion. On some phones (like the Samsung Galaxy M20), these distortions need to be manually removed. However, on flagship like the OnePlus 7 Pro, these issues are taken care of by the phone itself. Just make sure that the Ultra Wide Lens Correction option in Settings is kept enabled at all times.
4. Double tap for Google Lens
Trust me when I say that the Google Lens integration on the camera app of the OnePlus 7 rocks. Yes, I am not exaggerating. This nifty mode eases the process of recognizing common objects like bar codes, email address, phone number, among others. All you have to do is long-press on the screen of the camera interface, and Lens will be instantly activated. While Lens does a pretty good job in identifying plenty of elements, the camera gets a pretty good boost if the Smart Content Detection option is kept enabled. So for instance, if the camera detects a pretty cool landscape, it will notify you to use the Wide-angle mode instead of the regular auto mode. All you have to do is point your camera towards the subject. Yes, phones are getting smart. To enable Smart Content Detection, head over to Settings, and toggle the switch on.
5. A Shot in the Dark
With the OnePlus 7, we have a new night mode – Nightscape 2.0. This one is OnePlus’ attempt at long-exposure photography during low-light. With less noise and the right amount of light, this mode is capable of capturing some snazzy photos. You need to keep the phone as stable as possible. The above are some of the Nightscape images we captured using the OnePlus 7 Pro.
6. Capture Great Portraits
The OnePlus 7 Pro packs a cool 3x telephoto camera that lets you zoom more. However, it also has one major issue. All your portraits will be blown up to the same degree due to the 2.2x optical zoom. That means you have to place a considerable distance between you and your subject. Thankfully, the camera interface has a neat indicator to alert you if you are too close (or far) from your subjects. Just keep an eye out for the Depth icon. If it turns green, it means you are going in the right direction. A grey icon means that you’d have to adjust the distance a tad bit more.
7. Save Raw Images
The avid photographer in you must know that RAW images are flexible to edit then standard JPEG images, mainly for the reason that they capture more information than standard files. However, in the OnePlus 7 Pro, due to reason unknown, the option to save RAW images is not in its usual place in the Settings menu. Instead, the said option has now shifted inside the PRO mode. Open Pro mode and, tap on the tiny JPEG icon. Now, tap on RAW. Simple, see!
8. Kick out Your Evil Twin
I like to believe that a photo should be captured the way you see it on the viewfinder. It shouldn’t turn upside down (not that the OnePlus 7 does) nor should it give you a mirror image of the actual picture. The best option is to disable the option for Mirrored selfie. To do this, head over to the camera settings and disable the option for Mirrored photo. Now, you’ll come to appreciate the pop-up selfie camera.
9. Zoom like a Pro
Because pinching-in on the viewfinder is just so passé! On your new OnePlus 7 camera, touch lightly on one of the three icons at the camera interface and slowly slide your finger to the right. Uber cool, right?
A Picture is Worth a Thousand Words
For now, I am quite content with the way the OnePlus 7 Pro camera. I loved the way the shooting modes can be customized now, or how the camera can identify objects. If only there was a dedicated food mode. Sigh! Do follow our Instagram page to get more insights into the OnePlus 7 Pro camera. Next up: Are you in a switch between Snapseed and PicsArt? Find out which app gives you better options in image editing in the post below. The above article may contain affiliate links which help support Guiding Tech. However, it does not affect our editorial integrity. The content remains unbiased and authentic.


