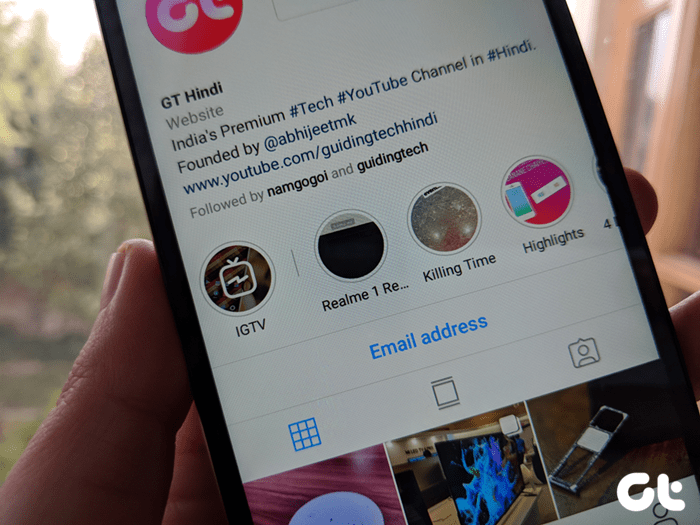
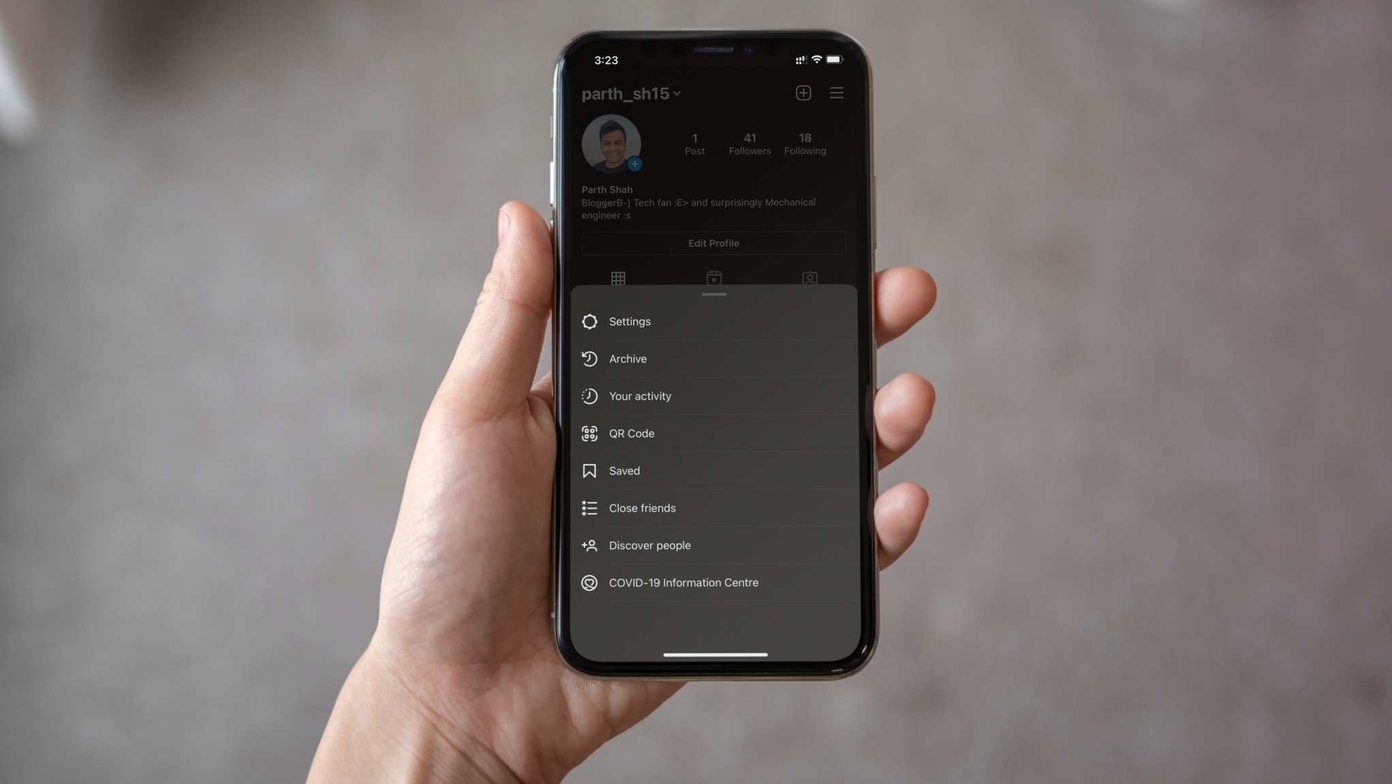
However, there’s a slight difference with Facebook’s highlights. Are you wondering how to use them? That’s why we’ve compiled this guide on Facebook highlights. Let’s begin.
What Are Facebook Story Highlights
Highlights are like photo albums where you can sort stories in different folders according to their content. You can add a cover picture and give a title to highlights. Just like stories, even highlights play like a slideshow. Highlights are created using story archive feature which acts as a storage of the disappearing stories that have hit the 24 hours time limit of being live. The story archive is private and not visible to anyone else. If you want to use those expired stories available again, then you can add them to highlights for making it visible to others. Once you add your stories to highlights, they stick around forever on your profile. Now that you are familiar with highlights, let’s see how to use it.
Where to Create Stories
Though Facebook and Messenger stories are cross-posted by default, you can create highlights on Facebook only. Also, those highlights aren’t accessible on Messenger. For now, only mobile apps allow creating and viewing highlights.
Create Highlights
There are a few ways to create new highlights. Let’s check them all.
From Stories
After publishing a story, launch the Facebook app and tap on the Your Story option under Stories. That’ll open your latest story. Tap on the Highlight icon at the bottom-right corner. From the Add to Highlight pop-up, tap on New Highlight to create a new one. Give it a name, assign a cover photo and hit Save.
From Story Archive
As long as story archive feature is enabled, you can create highlights anytime. To create a story from archives, follow these steps: Step 1: Open the Facebook app and tap on the See Archive option present at the top-right corner in the Stories box. Step 2: The app will take you to the Your Story Archive screen. Tap on the three-dot icon at the top-right corner and select Create Highlight. Step 3: Select the photos that you want to add to your highlight and tap on Done. Step 4: On the Add Story Highlight screen, add a name and select a cover photo, then tap on Save. Alternatively, when you are in the Your Story Archive screen, tap on the story to open it. Then tap the Highlight icon as you did in the previous method.
From Your Profile
Go to the profile screen on the mobile apps. Scroll down till the Story Highlights section. Tap on Add New to create a new highlight. Then select stories and give a name to the highlight.
Add Stories to Existing Highlights
You can do this in a couple of ways. When the story is live, open the story and tap on the Highlight icon. Here tap on the existing highlight where you want to add the story. Follow the same steps for accessing the story under the archived stories, i.e., open the story and tap on the Highlight icon followed by selecting the highlight. To add from your profile screen, tap and hold the highlight and select Edit Story Highlight. On the next screen, tap on Add More and pick the stories that you want to add.
Add Stories to Multiple Highlights
Unlike Instagram where a story can be placed only in one highlight, you can add a story to multiple highlights on Facebook. To do so, go to your profile and scroll down to the Story Highlights section. Here you may add stories to multiple highlights as you did for a single story.
Remove Story from a Highlight
There are two ways do to that.
Method 1
On your profile screen, tap on the highlight from which you want to remove a story. Then navigate to the story that you want to delete and hit the three-dot icon at the top-right corner. Select Remove From Highlight.
Method 2
Tap and hold the highlight having the story that you want to delete and select Edit Story Highlight. On the next screen, uncheck the story that you want to remove and tap on save.
Edit Highlight Title and Cover
You can assign unique names and cover images to your highlights. To do so, follow these steps: Step 1: Tap and hold on the highlight on your profile screen to get the Edit Story Highlight option. Step 2: On the Edit Story Highlight screen, give a name under Edit Name and tap on the picture under Edit Cover to change its cover photo. Unlike Instagram where you can add cover pictures from a gallery, the feature is currently missing on Facebook. So you’ll have to select one from stories only.
Delete Highlights
To delete a highlight from your profile, tap and hold the highlight that you want to edit. From the options that you get, tap on Delete Highlight.
Privacy Settings
The privacy settings for Facebook highlights are different from stories. You can customize them separately. To do so, tap and hold on any highlight. Then select Edit Story Highlight. On the Edit Story Highlight screen, tap on the Settings icon at the top. You will be taken to Highlight Settings. Here choose a relevant the privacy setting.
Story Highlights Not Working
If you cannot create highlights, you should check if the story archive feature is enabled or not. To do so, follow these steps: Step 1: On the Facebook app home screen, tap on the See Archive option. Step 2: Then tap on the three-dot icon at the top-right corner and select Settings from the menu. Step 3: Make sure the Save to Archive option is enabled.
Are Highlights Useful?
Of course. Even though highlights are somewhat conflicting with the transient nature of stories, they serve a purpose — extending the life of stories. First, all those beautiful stories would be visible for more than a day, as long as you want. Secondly, you can organize your stories in folders using highlights. On Instagram, stories are productive for brands as they can display their products. However, currently, Facebook pages don’t support highlights since it’s available for personal profiles only. Next up: Ever wondered how Facebook shows a set of folks in the People You May Know? Check the link to learn how Facebook picks those profiles, and it is fascinating. The above article may contain affiliate links which help support Guiding Tech. However, it does not affect our editorial integrity. The content remains unbiased and authentic.


