iPhone users with Windows PCs are in a real treat with iCloud Photos integration in the Photos app. You can view your uploaded iCloud Photos and even tweak them using Microsoft Photos editing tools. Let’s set it up.
Install and Set Up iCloud on Windows 11
Apple offers iCloud app in the Microsoft Store to sync Photos, bookmarks, iCloud passwords, contacts, calendars, and iCloud Drive with your Windows PC. You need to set it up on your computer to enable iCloud Photos integration. Step 1: Launch Microsoft Store on your Windows PC. Step 2: Search for iCloud and download the app on your computer.
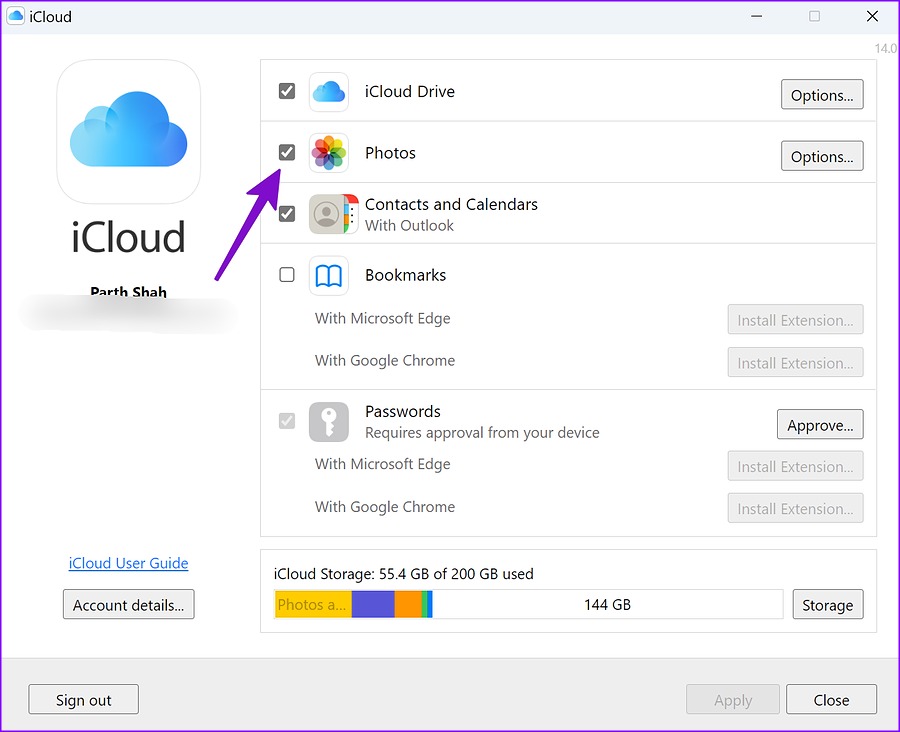
Step 3: Open iCloud and sign in with your Apple account details. Apple will ask you to verify your Apple account with 2FA (two-factor authentication). Step 4: Enable the checkmark beside iCloud Drive, Photos, Contacts, and Passwords, and hit the Apply button. You can also check your account’s remaining iCloud storage from the same menu.
Step 5: Press Windows + E shortcut to open the File Explorer app. Step 6: You will see iCloud Drive and iCloud Photos from the left sidebar.
Let’s check the same in the Microsoft Photos app.
Update Microsoft Photos on Windows
Microsoft recommends updating the Photos app to the latest version to enable iCloud Photos integration. Step 1: Open Microsoft Store on Windows. Step 2: Select ‘Library’ from the bottom-left corner.
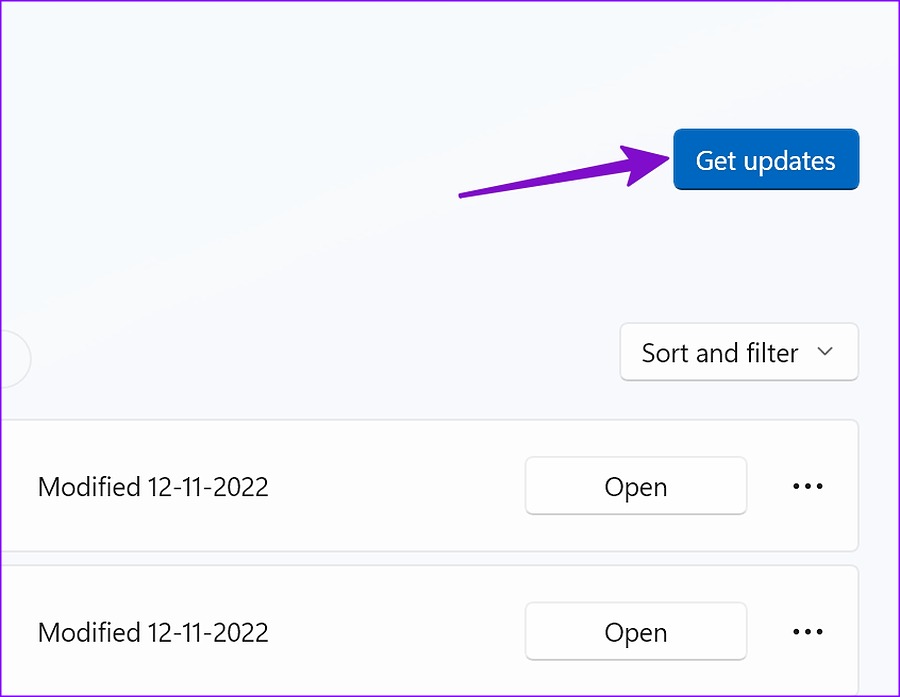
Step 3: Click ‘Get Updates’ and install the latest Photos update on your PC.
Check iCloud Photos in Microsoft Photos
After you update the Photos app and set up iCloud on your Windows 11 PC, your iCloud Photos are ready to use in the default gallery app. Step 1: Launch the Photos app on your computer. Step 2: You will see the iCloud Photos tab appearing from the left sidebar. If you don’t see the iCloud Photos option, enable it from Settings.
Step 3: Hit the Settings gear in the top-right corner.
Step 4: Enable the ‘Show iCloud Photos’ toggle.
Go back to the main menu and open the iCloud Photos section. You will see the iCloud Photos icon in the top-left corner that separates iCloud media from OneDrive and local photos. You can also check the number of photos and videos you have uploaded to the iCloud platform.
Add iCloud Drive Folders to Microsoft Photos
Apart from iCloud Photos, you can check your iCloud Drive media into the Photos app. If you have Downloads folders or any other folder containing images and videos, follow the instructions below to import them into the Photos app. Step 1: Launch the Photos app on Windows. Step 2: Select Folders from the sidebar and click ‘Add a folder.’
Step 3: It shall open the File Explorer app. Step 4: Select iCloud Drive from the left sidebar and click the relevant folder and hit ‘Select Folder.’
We imported ‘Downloads – Mac’ folder from iCloud Drive. You can see the same Apple Photos icon in the top left corner.
Back up iCloud Photos to OneDrive
Existing Microsoft 365 subscribers get 1TB of OneDrive storage. If you have ample OneDrive storage and want to back up iCloud Photos to it, follow the steps below. Step 1: Go to iCloud Photos in the Photos app (refer to the steps above). Step 2: Select photos and videos you want to back up to OneDrive. Step 3: Hit ‘Back up to OneDrive.’
Check Microsoft Photos Editing Tools
Now that you have integrated iCloud Photos with the default gallery, you can utilize all the image and video editing features. Step 1: Head to iCloud Photos in the Photos app and open any image. Step 2: Click the edit icon at the top.
You can crop an image and adjust the brightness, exposure, contrast, shadows, color details, etc. The Photos app also packs several filters to apply to your photos. The mark-up tools allow you to use highlighter or pencil to doodle on images.
Microsoft Photos Is Better Than Ever
Windows 11 also packs a handy Clipchamp video editor to create a beautiful memory using iCloud Photos media. How’s your experience with iCloud Photos in Microsoft Photos? Share it in the comments below. The above article may contain affiliate links which help support Guiding Tech. However, it does not affect our editorial integrity. The content remains unbiased and authentic.


