Among several useful tricks and features is Continuity Camera. It lets you use your iPhone’s camera to take pictures or scan documents and attach them to a Mac. You can do this either for your emails or if you want to add an image to a note. This adds a good level of convenience to your Workflow and makes your iPhone work even better with your Mac. If it sounds interesting to you, here’s how you can use your iPhone to scan and add documents to your Mac.
What Is Continuity Camera
The technology that lets you use your iPhone’s camera to scan documents and seamlessly add them to a Mac is referred to as Continuity Camera. Let’s say you’re typing an email on your Mac and you need to attach a piece of document like a receipt. Instead of first clicking a picture with your phone, sending it over to your Mac, and then adding it as an attachment, you can use Continuity to make your job easier.
All you need is a Mac running macOS Mojave or later and an iPhone running iOS 12 or later.
How to Use an iPhone to Scan and Add Documents on Your Mac
You can use Continuity Camera to scan and add photos directly onto multiple apps and programs on your Mac. This includes Notes, Mail, Finder, iMessage, etc. It also works with some third-party apps natively. Here’s how to use it. Step 1: Open the app on your Mac where you want to attach a scanned document, for example, the Mail app.
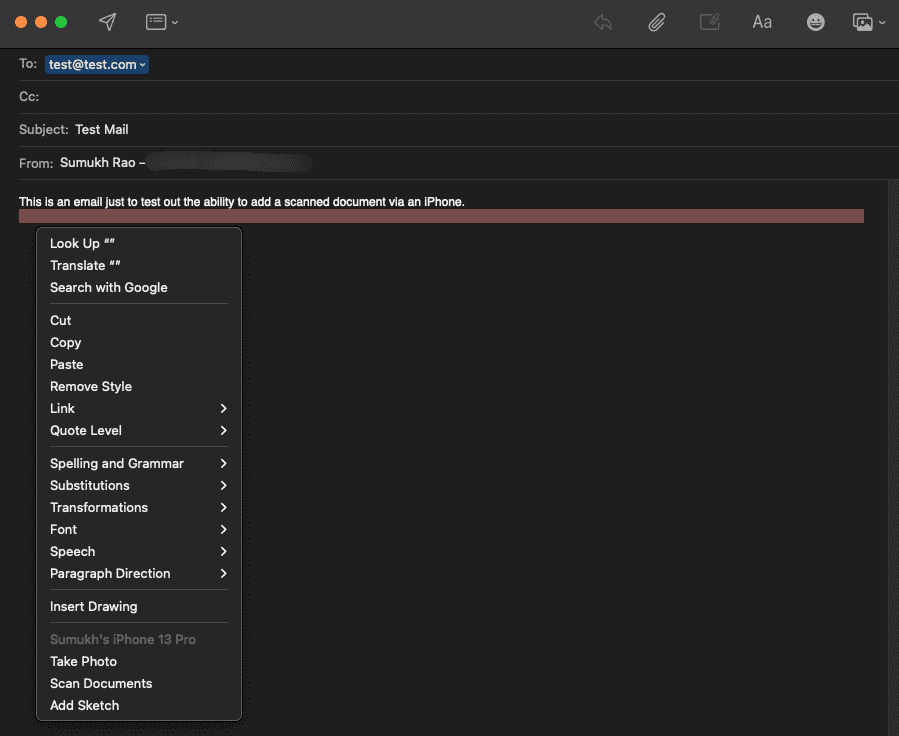
Step 2: Right-click on the area where you wish to add the scanned document.
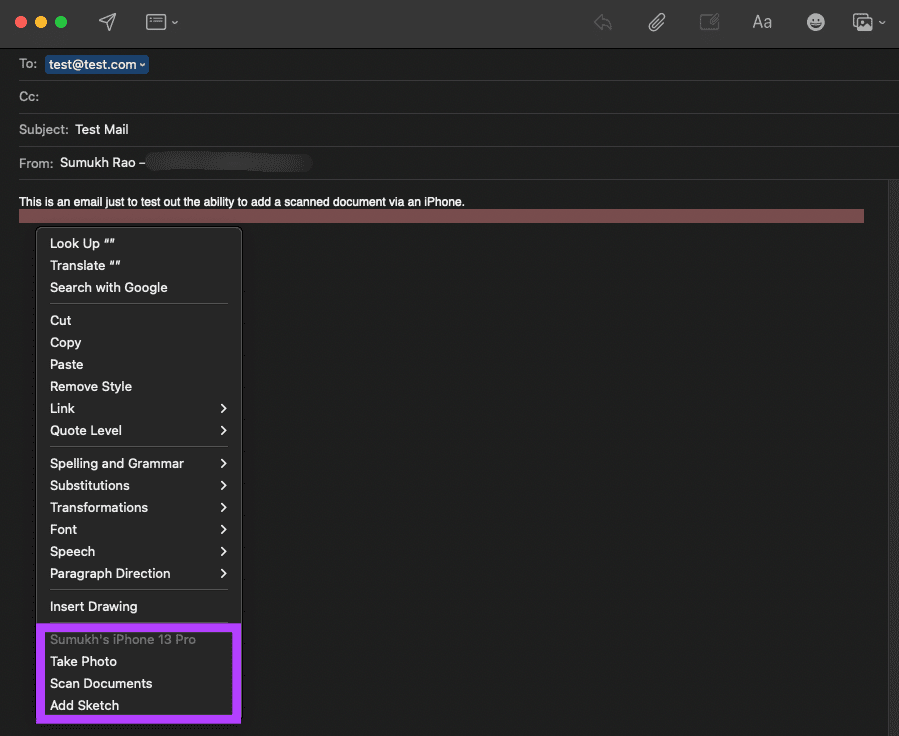
Step 3: In the pop-up menu, you will see a section at the end listed under your iPhone.
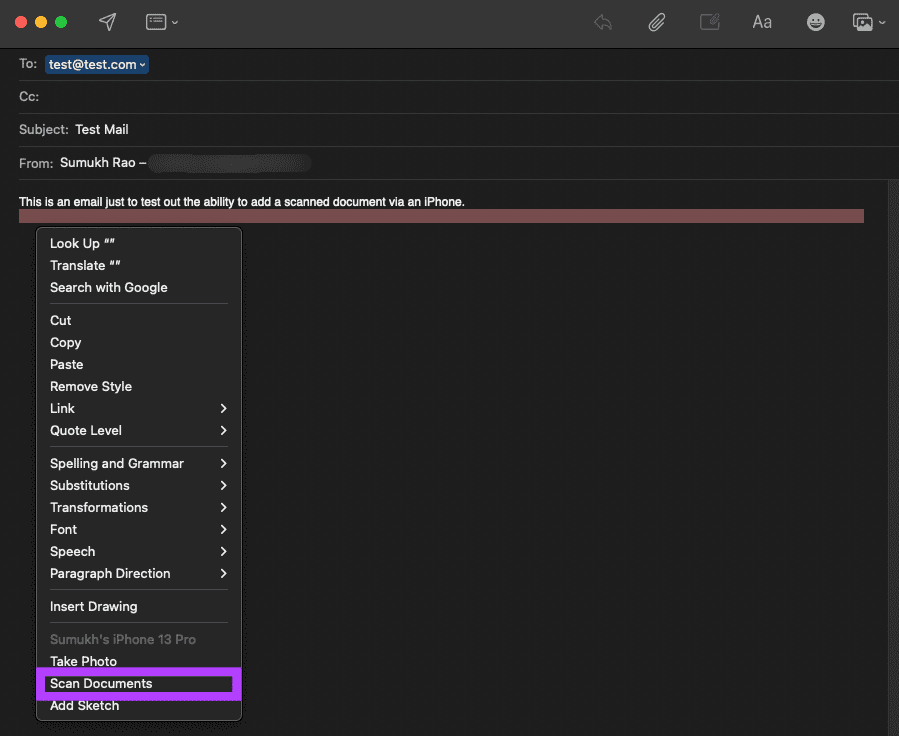
Step 4: Select the Scan Documents option.
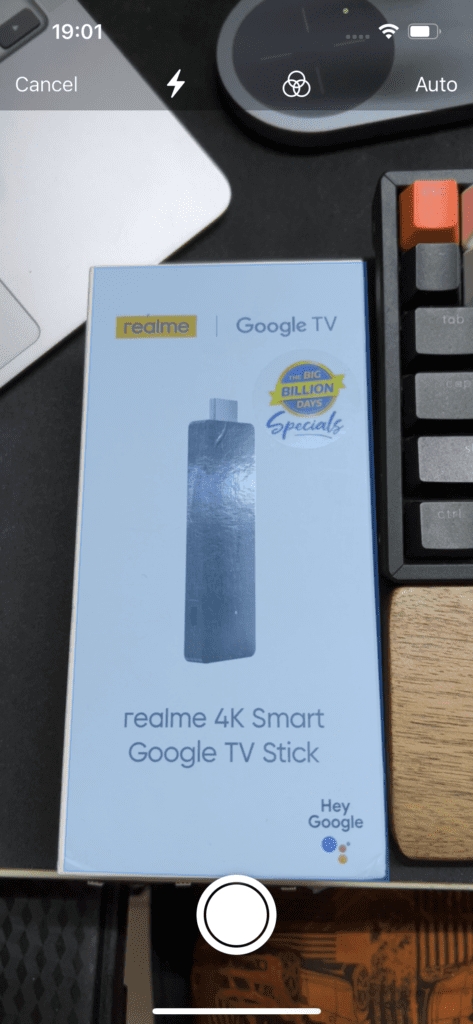
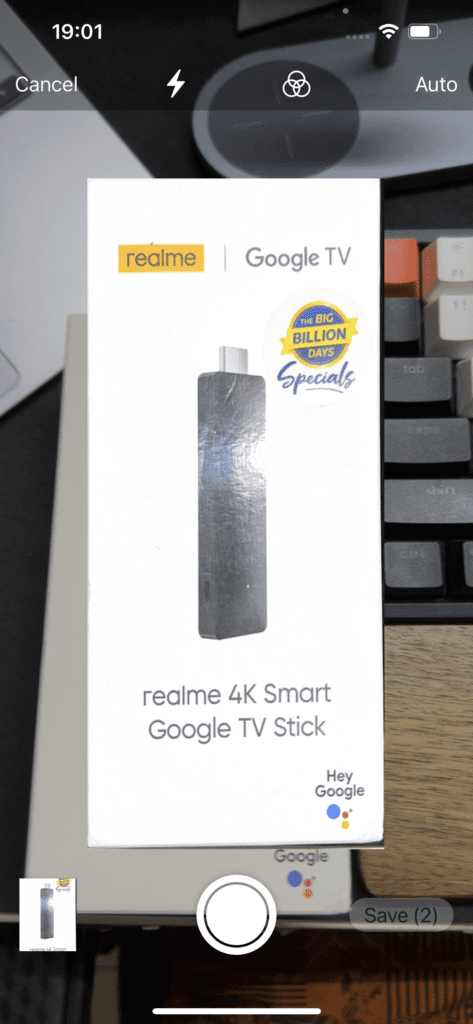
Step 5: This will open up the camera viewfinder on your iPhone. Now, place your iPhone over the document you want to scan.
Step 6: Your iPhone will automatically detect the document and scan the relevant area.
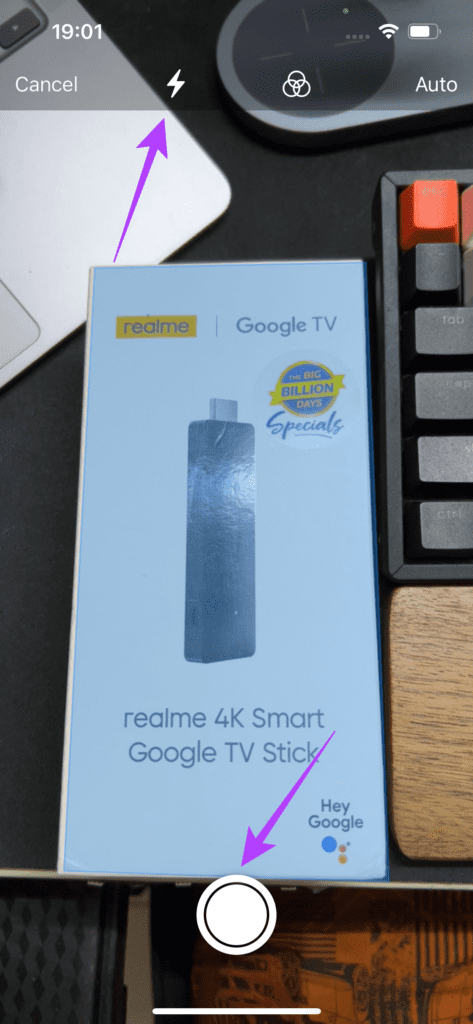
Step 7: If the document was not detected, you can manually tap the shutter button to capture it or use additional features like camera flash if you’re scanning in the dark.
Step 8: Once you have captured all the pages or documents to attach, tap on the Save button on the bottom-right section of your screen.
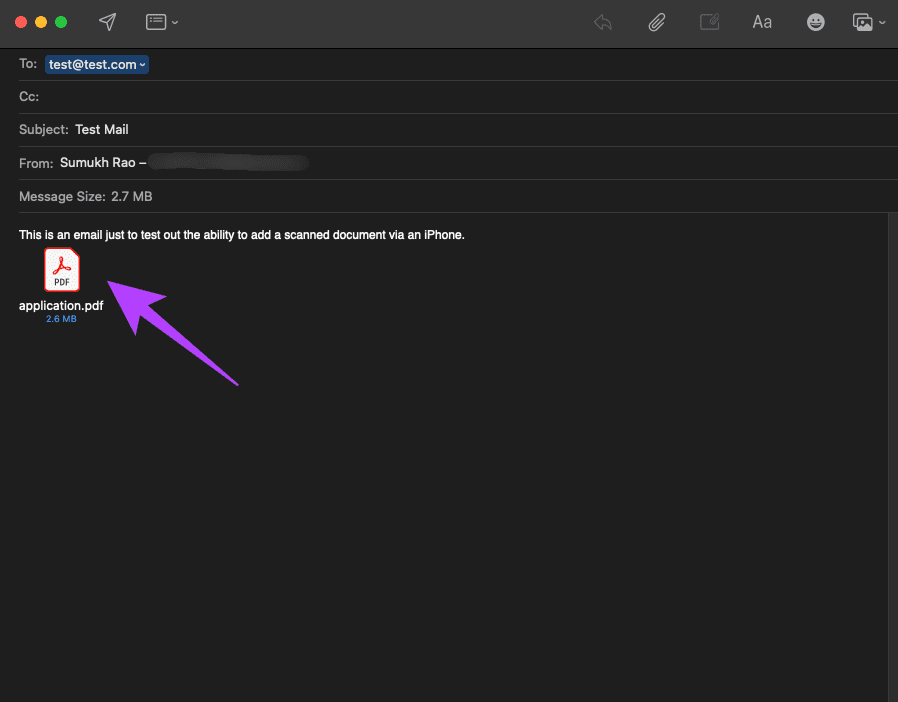
Step 9: You will now see that the app on your Mac has a new attachment added automatically. The attachment has been added as a PDF on the Mail app.
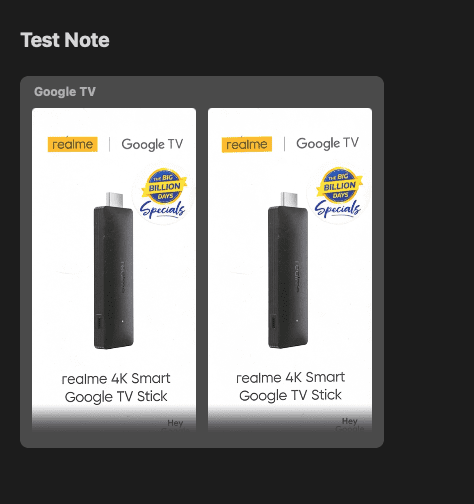
Step 10: On the Notes app, the documents have been added as images.
If you do not wish to scan a document, you can also choose to take a photo via your iPhone to add as an attachment or the Add Sketch option to attach a doodle.
How to Scan and Add Documents on Unsupported Apps
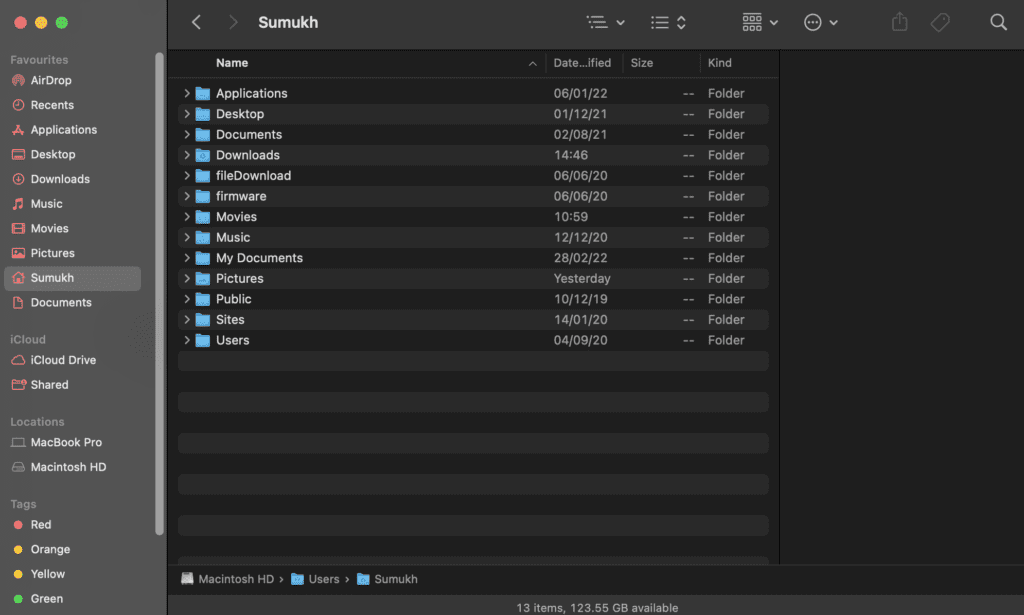
This feature isn’t present on all third-party apps so if you want to scan a document via your iPhone and attach it to Gmail on Chrome, the above method will not work. Here’s what you can do instead. Step 1: Open a Finder window on your Mac and navigate to a directory where you want to save the scanned document.
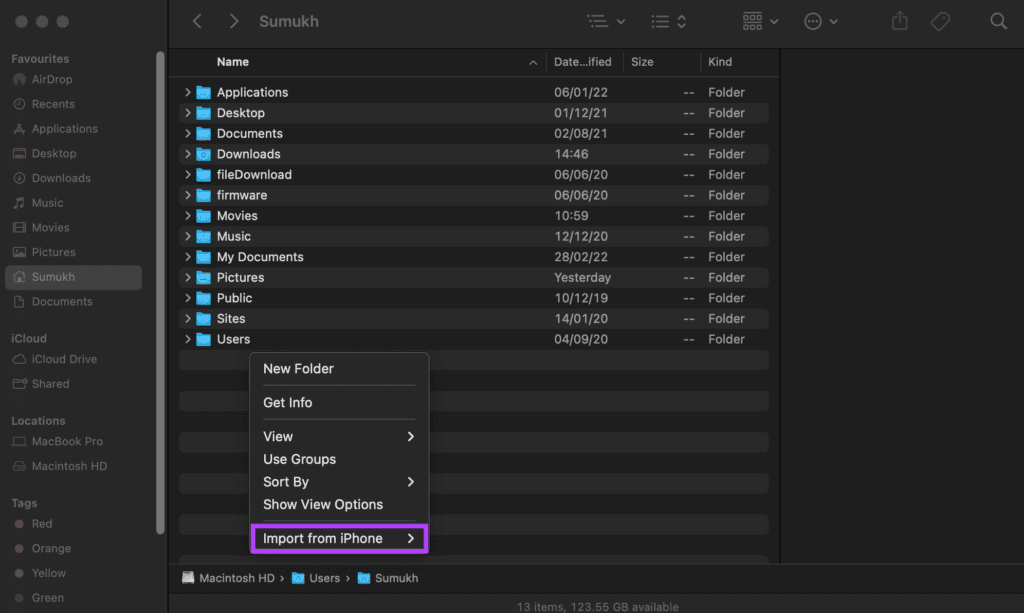
Step 2: Now, right-click and hover your mouse over Import from iPhone.
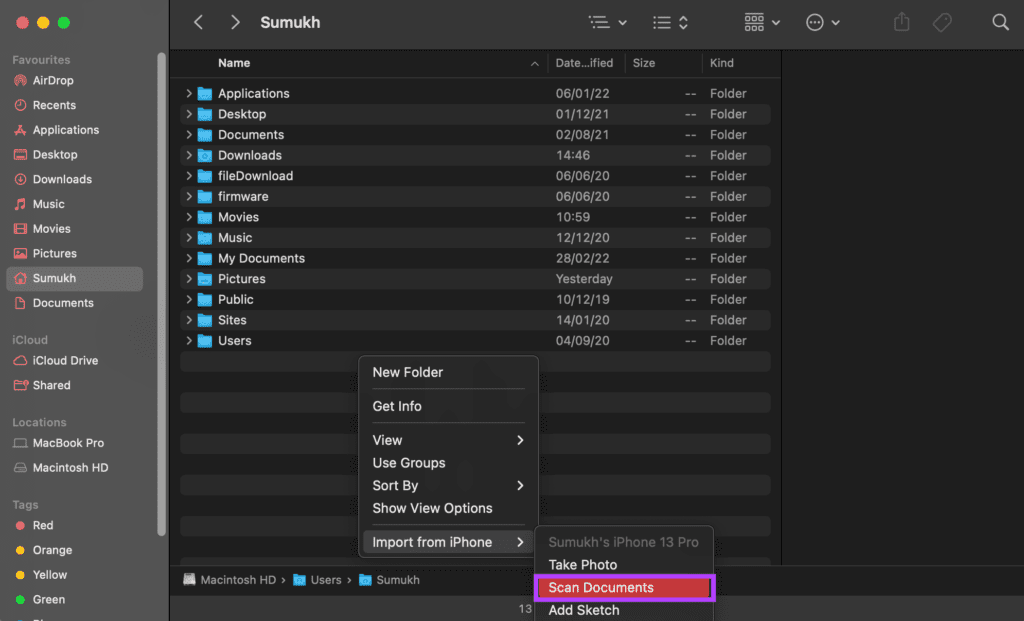
Step 3: Select Scan Document.
Step 4: This will fire up the camera viewfinder again on your iPhone. Now, place your iPhone over the document you want to scan.
Step 5: Your iPhone will automatically detect the document and scan the relevant area.
Step 6: If the document was not detected, you can manually tap the shutter button to capture it or use additional features like camera flash if you’re scanning in the dark.
Step 7: Once you have captured all the pages or documents to attach, tap on the Save button on the bottom-right section of your screen.
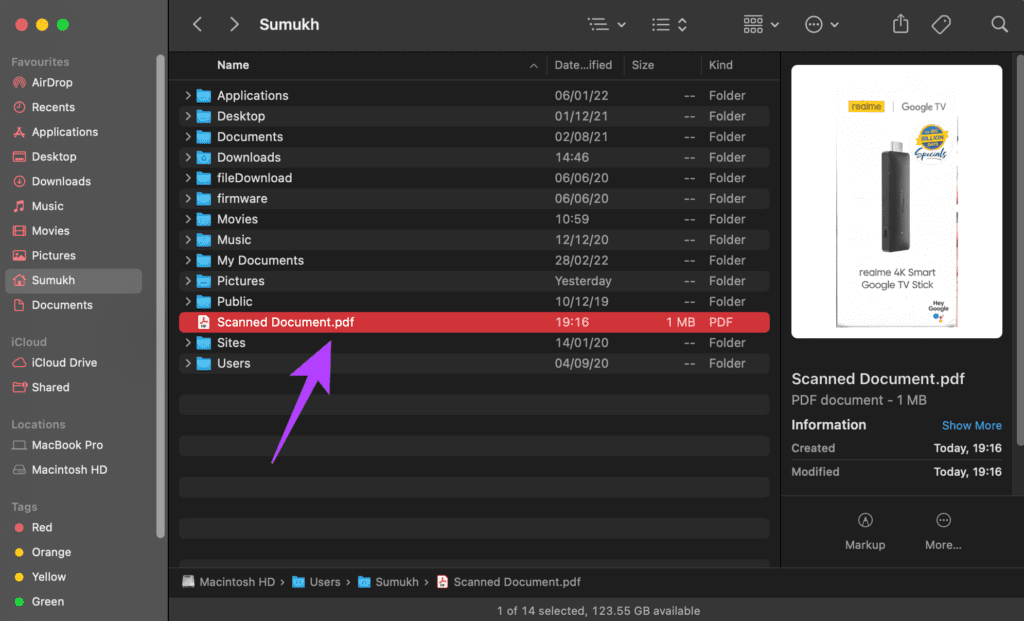
Step 8: The scanned document will now be saved as an image in the folder.
You can also choose to take a photo or add a sketch instead.
Scan and Attach Documents to Your Mac on the Go
This is an efficient way of attaching documents to your emails and notes on your Mac. You don’t have to manually take pictures of all your documents and crop them individually. It’s a useful tool that many professionals are going to appreciate. The above article may contain affiliate links which help support Guiding Tech. However, it does not affect our editorial integrity. The content remains unbiased and authentic.